
How to Make Cannabis Coconut Oil: Two Easy Recipes
We’re going nuts for coconuts—and honestly, can you blame us? Versatile, delicious, and healthy, coconut oil really can do it all, including being the perfect base for a cannabis infusion that will knock your socks off. Cannabis coconut oil is something every cannabis enthusiast will want to have on hand in their kitchen. Below, we’ll show you how to make it and explore all the ways you can put it to good use.
Cannabis Coconut Oil Basics
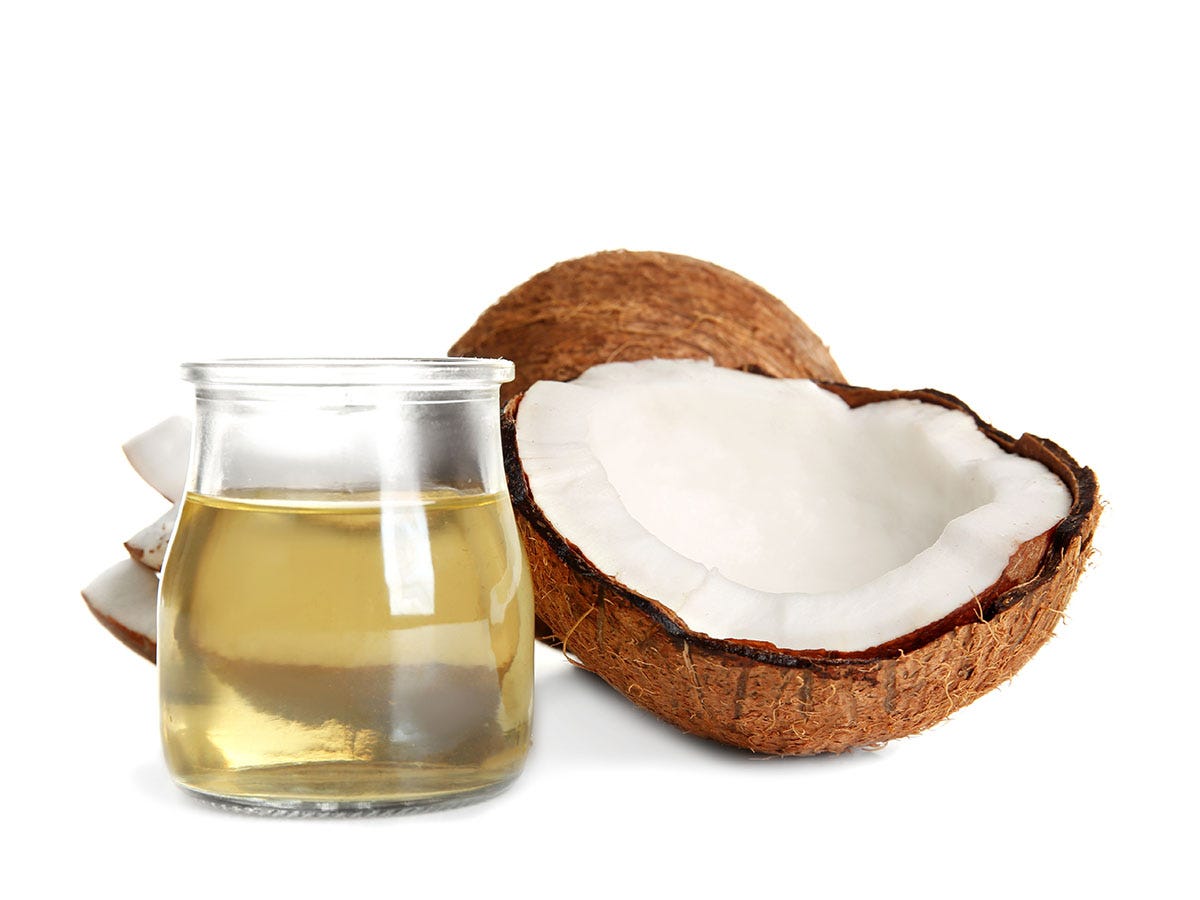
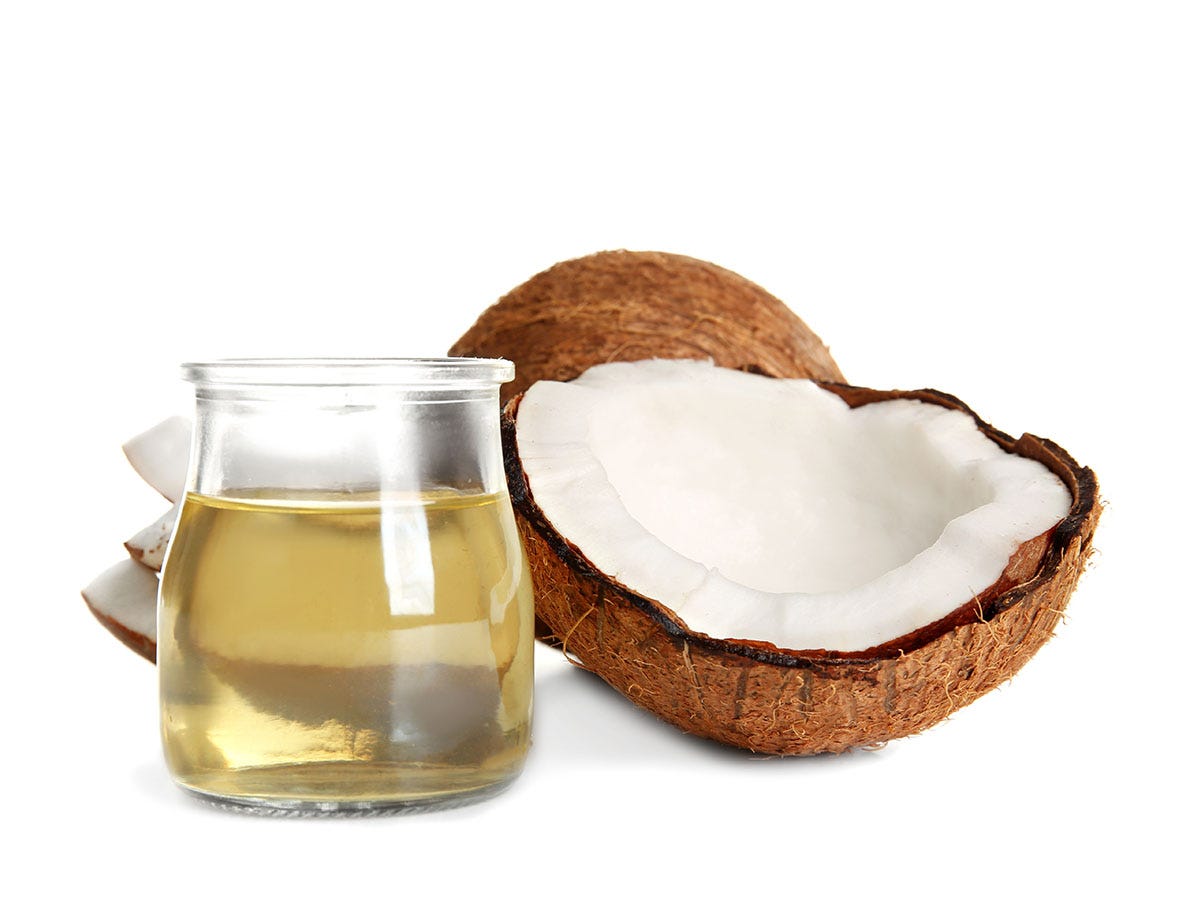
Coconut oil is an incredibly versatile ingredient. You can eat it straight, cook with it, mix it into edible recipes, or even use it as part of your skincare routine. It’s vegan, rich in healthy fats and vitamins, and smells amazing, too.
What makes coconut oil especially great for cannabis infusion is its high fat content. Cannabinoids like THC and CBD bind easily to fat molecules, making them more “bioavailable”—in other words, easier for your body to absorb. When paired with coconut oil, the effects of cannabis can be stronger and longer-lasting.1
Getting Started
Before diving into your cannabis coconut oil recipe, there are a few important steps to take. In the world of cannabis cooking, we like to embrace the concept of mise en place—a French phrase meaning “everything in its place.” It’s all about preparing your ingredients and gathering your tools before turning on the stove or preheating the oven (especially if you’re channeling your inner French chef).2
When it comes to cannabis infusion, decarboxylation is the most crucial part of your mise en place. It’s the step that activates the cannabinoids in your cannabis flower, making it effective in your final product.5 Just as important, though, is the quality and type of coconut oil you choose for your infusion.
Choose Your Coconut Oil
When choosing your coconut oil, you'll need to decide between refined, unrefined, or MCT oil. Knowing how you plan to use your infusion can help guide this decision.
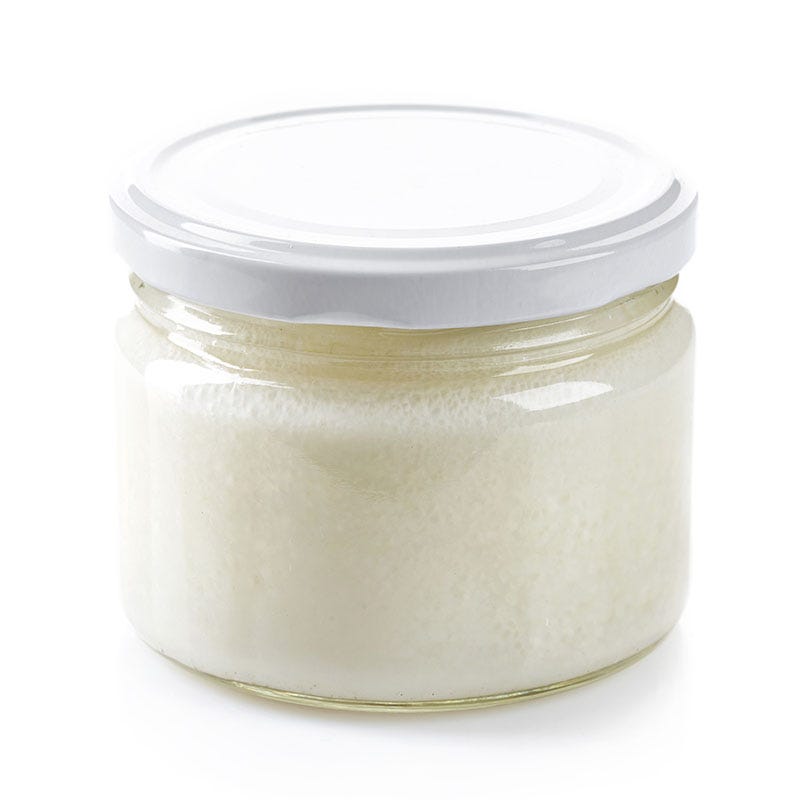
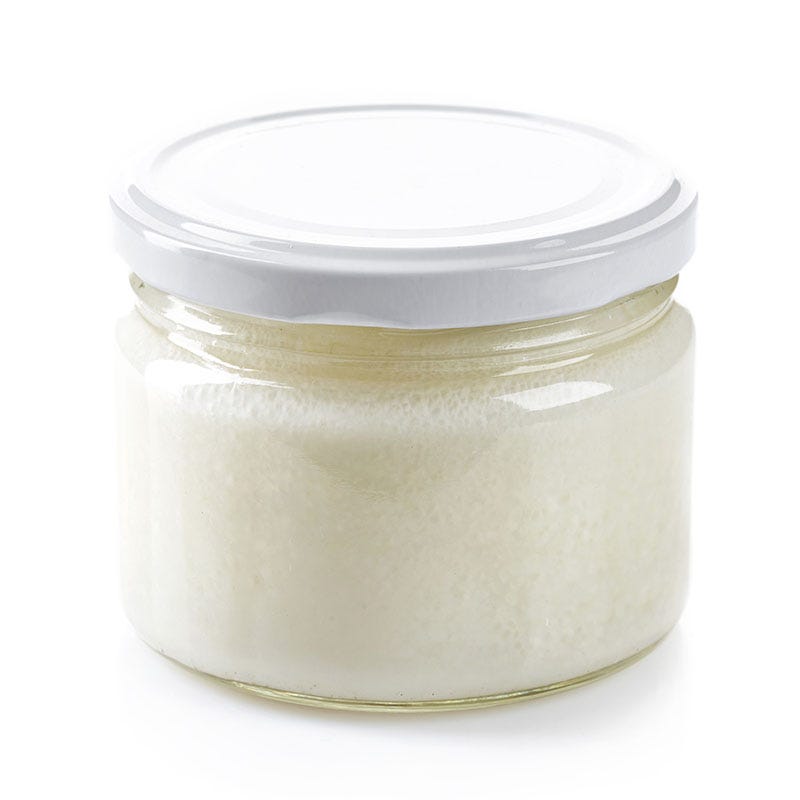
Unrefined coconut oil—often labeled as “virgin” or “cold-pressed”—is extracted directly from the white meat of the coconut without any additional processing. It retains a rich coconut flavor and aroma, making it ideal for recipes where you want those notes to shine through. Its lower smoke point makes it ideal for baking, rather than sauteeing or other high-heat cooking.
Refined coconut oil, on the other hand, goes through additional processing steps like neutralizing, bleaching, and deodorizing. The result is a more neutral oil with a higher smoke point, which some prefer for its versatility in cooking.3
You also have the option of using MCT oil, which stands for medium-chain triglycerides. This oil is typically derived from coconut or palm kernel oil. It’s popular for its fast absorption and subtle flavor, and can often be used in tinctures.4
Decarboxylate Your Flower
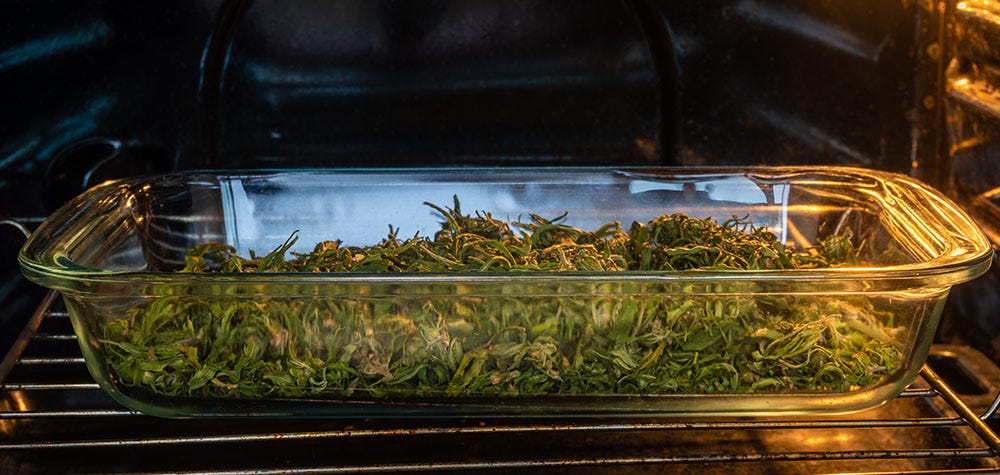
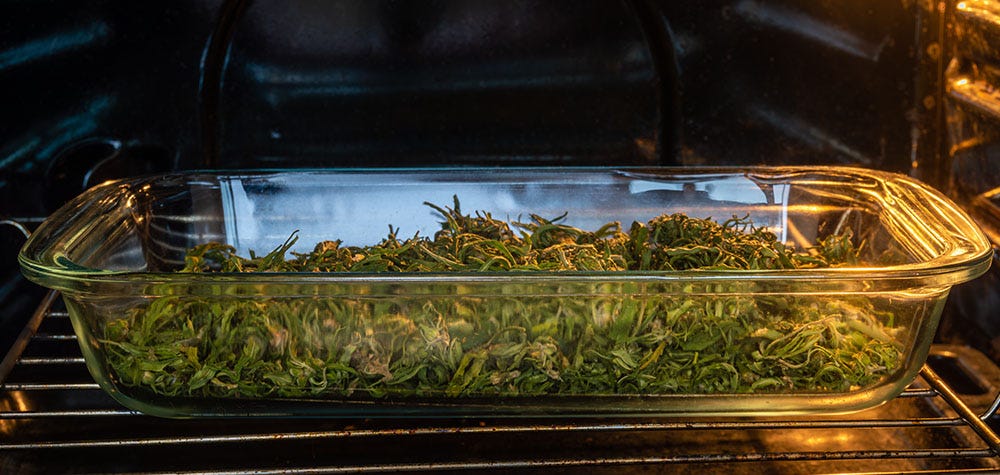
Before you start any cannabis-infused recipe, decarboxylation is a must. This essential step activates the cannabinoids—like THC and CBD—so they can actually produce their intended effects when consumed. Spread your flower on a sheet pan and bake at 220°F for about 30-40 minutes.
Raw cannabis flower contains cannabinoids in their acidic forms, THCA and CBDA, which are not psychoactive. Through decarboxylation, heat transforms these compounds into THC and CBD, making them bioavailable and psychoactive when consumed. Without this step, your infusion will lack potency, and you likely won’t feel any noticeable effects.5
Gather Tools & Ingredients
Before you begin infusing, it’s a good idea to set yourself up for success by gathering everything you’ll need.
Here’s the equipment:
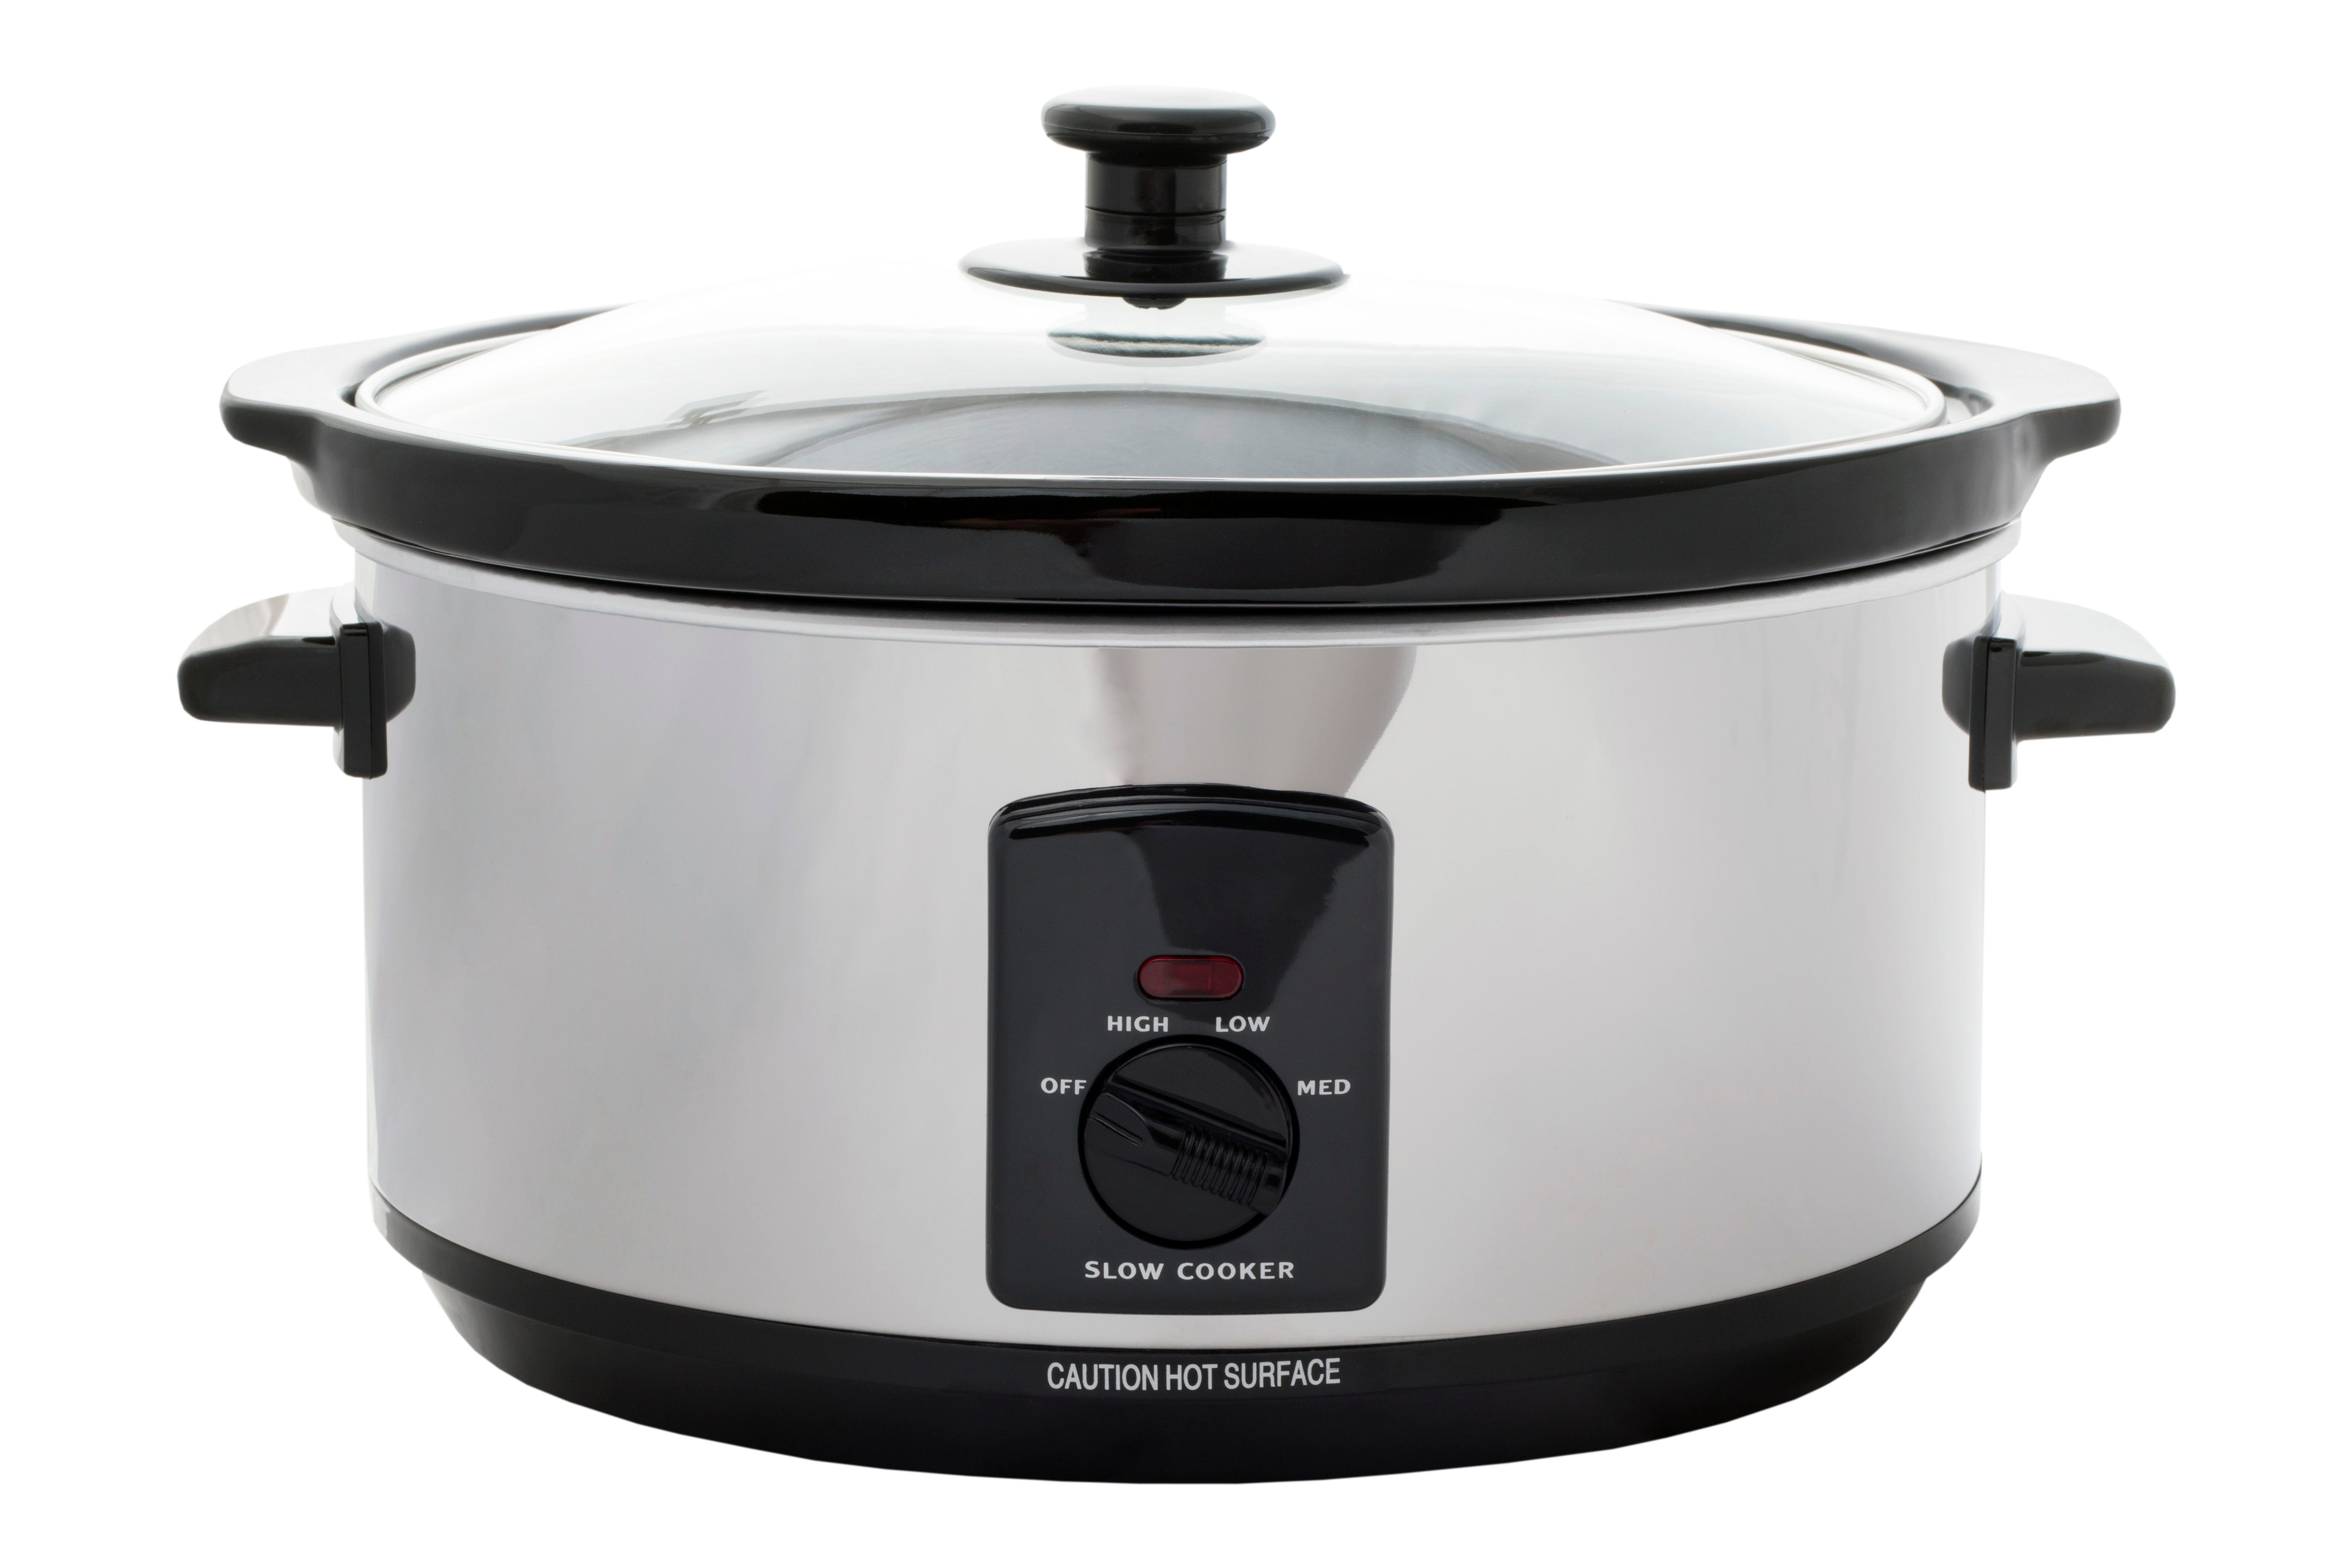
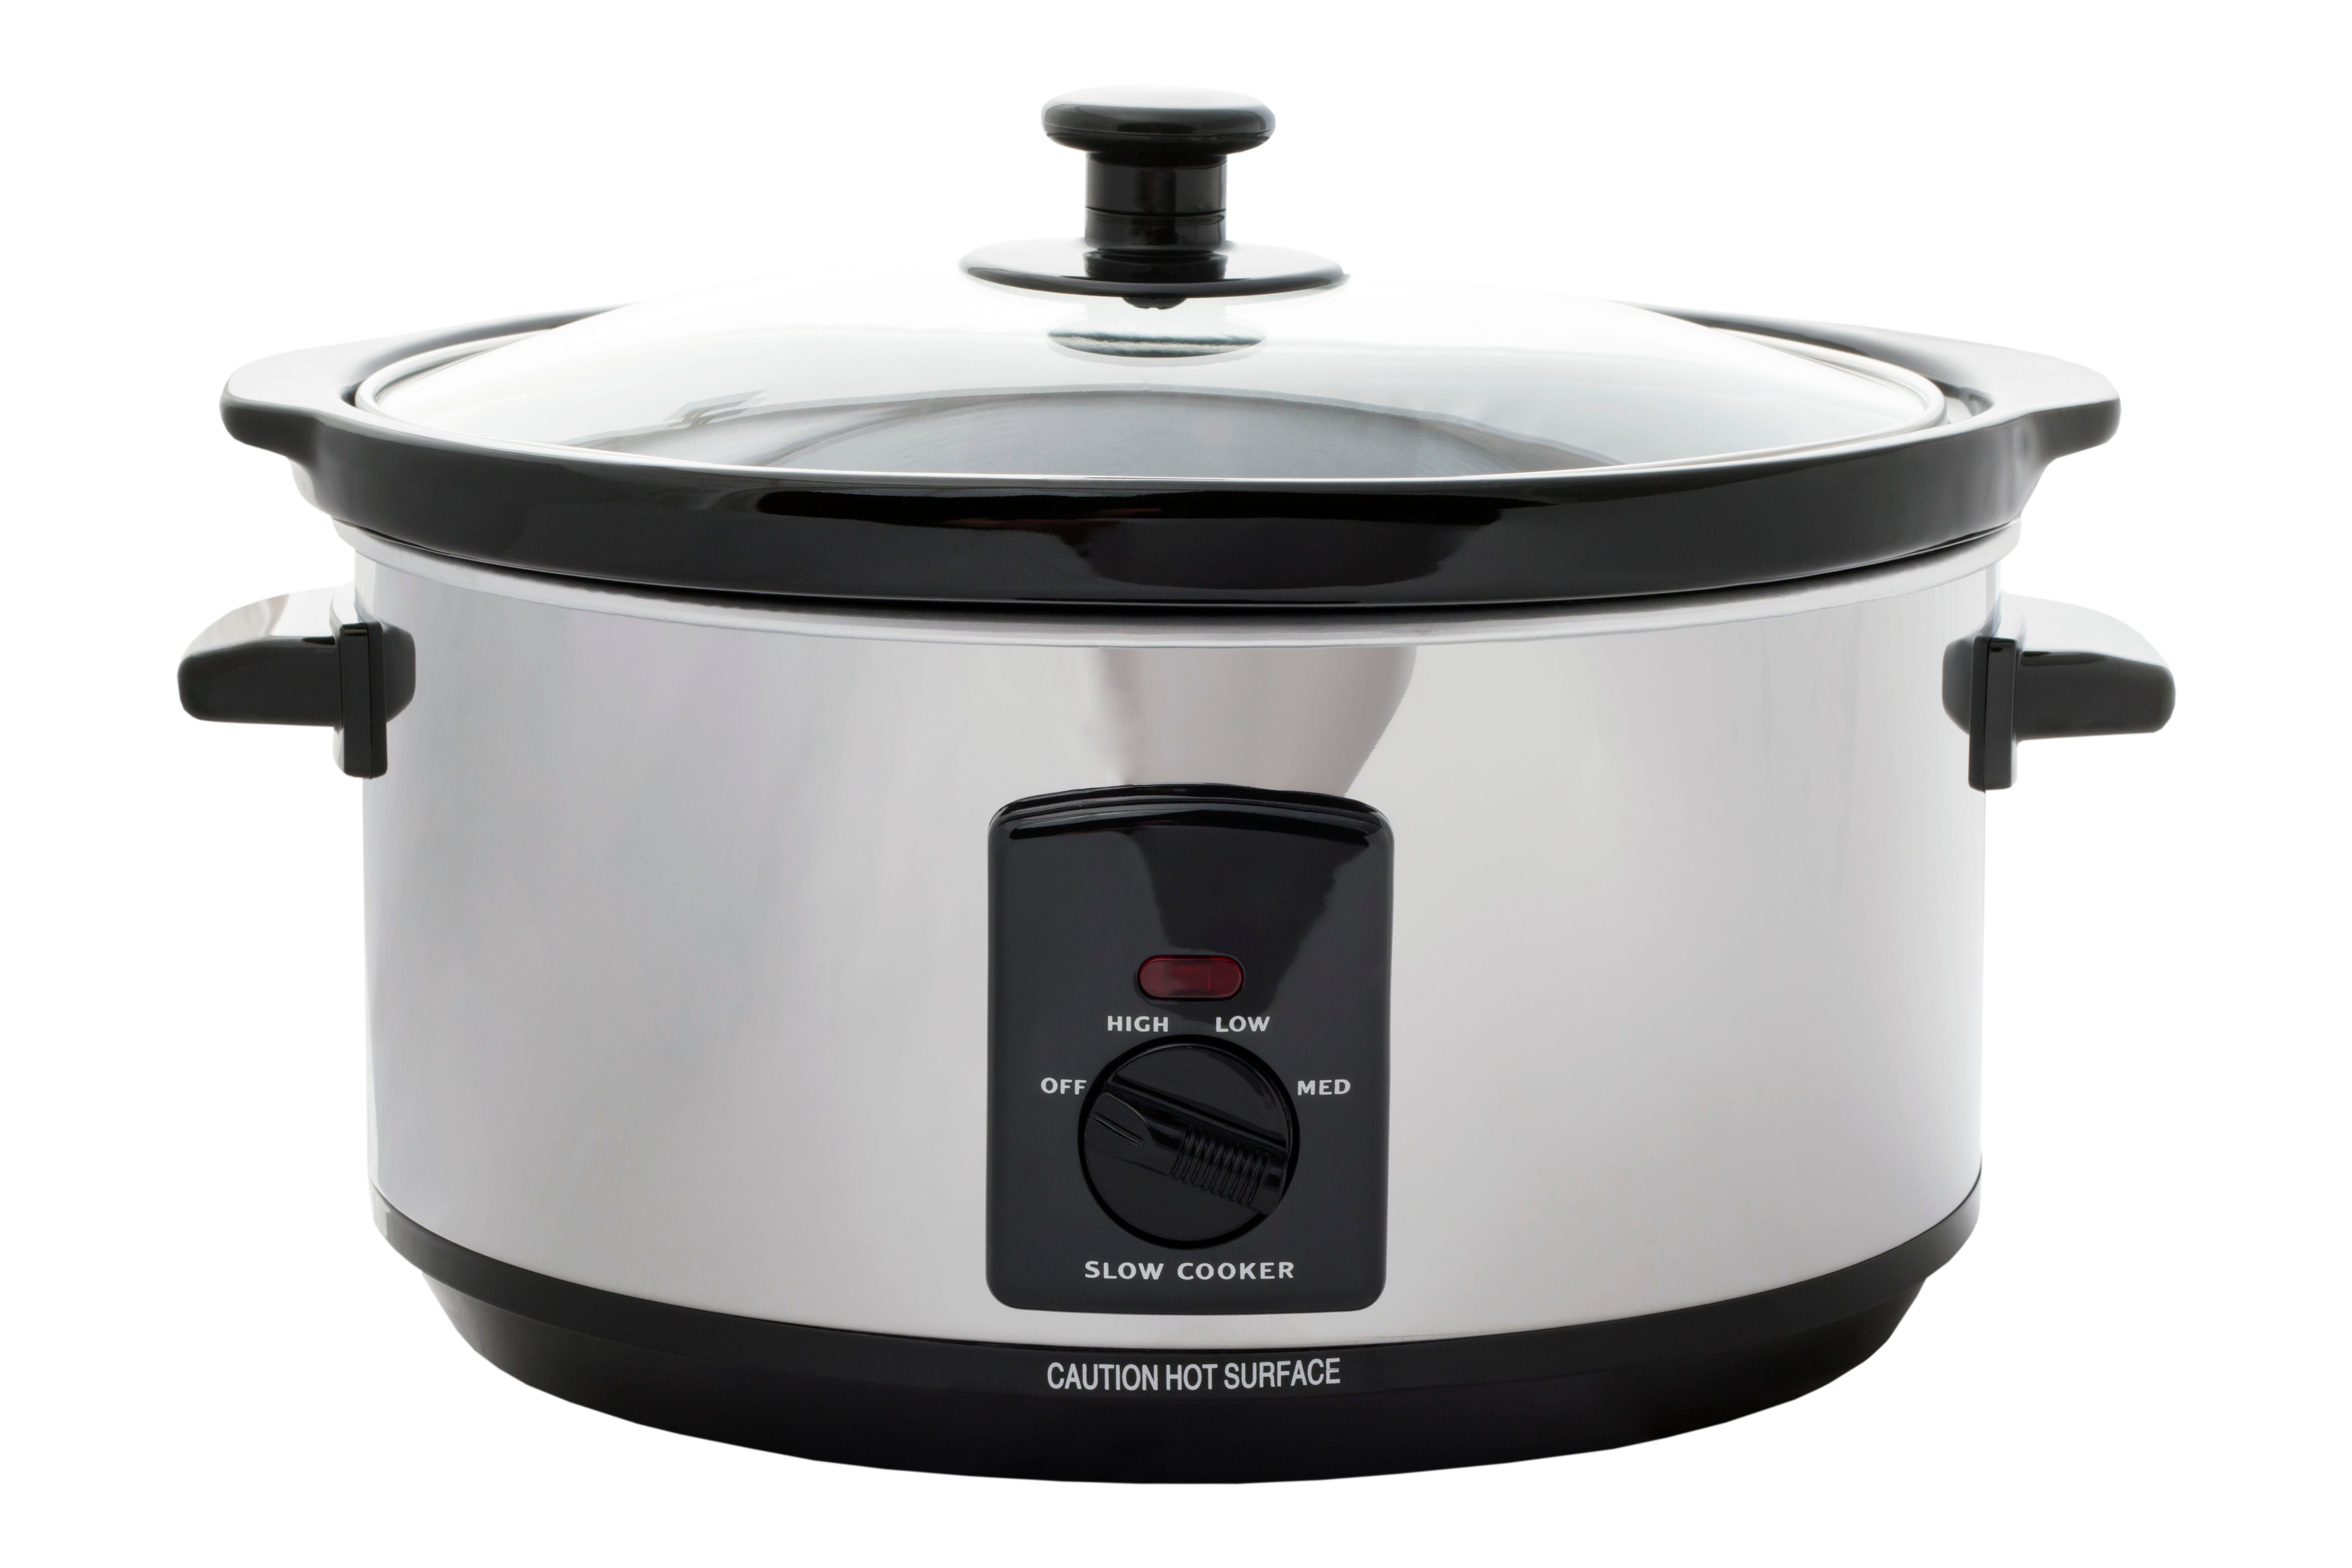
- Cooking vessel: You’ll need something to gently heat your mixture over time. A slow cooker is great for maintaining a consistent low temperature, but you can also use a saucepan on the stovetop. Either method works great.
- Mason jar (clear glass with lid): This is especially helpful if you're using the slow cooker method.
- Filter (cheesecloth, fine mesh strainer, or coffee filter): After the infusion is done, you’ll need to strain out the plant material. Cheesecloth gives you the cleanest result, but a fine mesh strainer or even a coffee filter can do the trick.
- Candy thermometer: Cannabis infusions require steady, low heat. A candy or kitchen thermometer helps you keep the temperature in the sweet spot, so you don’t risk degrading the cannabinoids or terpenes.
And the ingredients:
- 1 cup decarboxylated cannabis flower: Your flower should be coarsely ground to avoid too much plant material making it into your final product.
- 1 cup coconut oil of choice: Both refined and unrefined coconut oils work here, but unrefined (or virgin) coconut oil tends to be preferred because of its higher fat content.
- 1 tsp lecithin (optional): Lecithin is an emulsifier that can help bind the oil and cannabinoids more effectively, potentially increasing the potency and shelf life of your infusion. You can use sunflower or soy lecithin, and add just a teaspoon to the mixture if desired.
Now let’s get started.


Method 1: Stovetop Cannabis Coconut Oil [3 Steps]
Making cannabis coconut oil on the stovetop is straightforward and accessible. In just three simple steps, you’ll have a rich, potent infusion ready for recipes, topicals, or tinctures.6
Step 1: Melt Coconut Oil
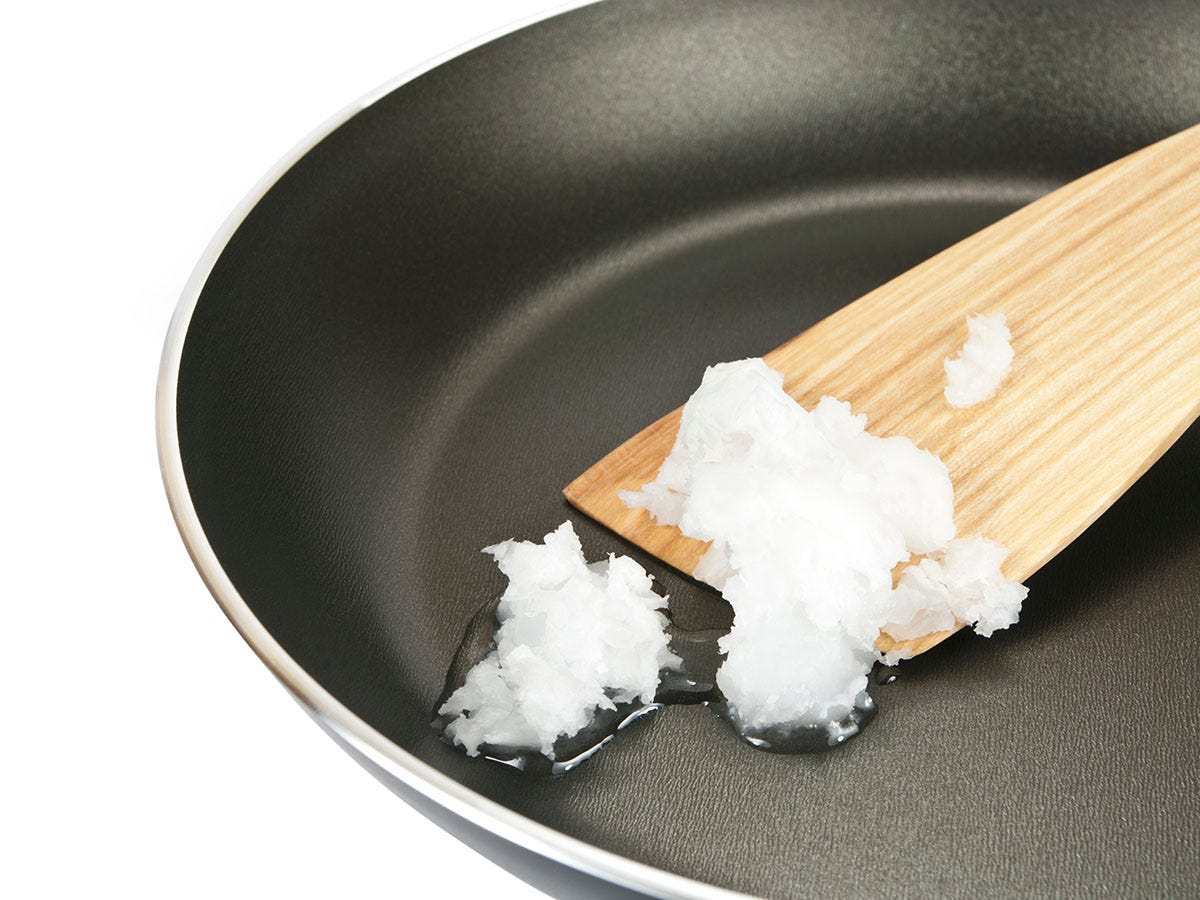
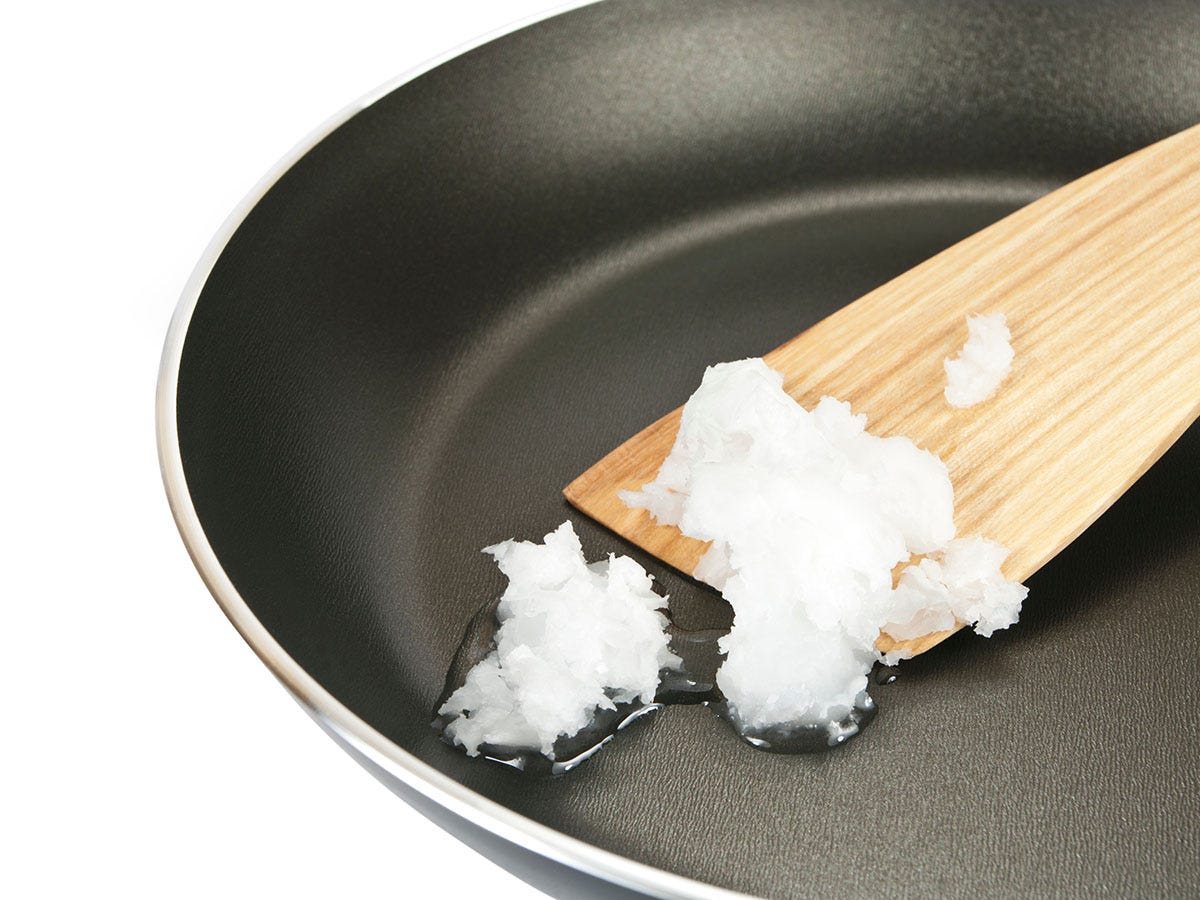
Place your coconut oil in a saucepan and melt it over low heat. Keep the flame gentle—this isn’t a process you want to rush. You’re aiming for a slow, steady heat to liquefy the coconut oil, not burn it.
Step 2: Add Flower
Once the oil is fully melted, add your decarboxylated cannabis flower. Stir to combine, and let the mixture simmer on low heat for 2-3 hours, keeping the temperature between 160°F and 200°F. Stir occasionally and monitor the heat with your thermometer to avoid overheating.
Step 3: Strain
After simmering, let your mixture cool. In the meantime, set up your mesh strainer or cheesecloth over a mason jar or other storage container, then slowly pour the mixture through. Avoid squeezing or pressing too hard, which can force chlorophyll out of the plant material and affect the taste of your final product.


Method 2: Slow Cooker Cannabis Coconut Oil [5 Steps]
The slow cooker method is a bit more hands-off and helps keep temperatures consistent throughout the process. Here’s how to make cannabis coconut oil using this reliable, low-maintenance method.7
Step 1: Water Bath
Fill your slow cooker with enough water to cover about halfway up the sides of your mason jars once placed inside. Set the temperature to maintain a steady 180-190°F. Let it warm up while you prepare your infusion jars.
Step 2: Combine Flower & Coconut Oil
Fill your slow cooker with enough water to cover about halfway up the sides of your mason jars once placed inside. Set the temperature to maintain a steady 180-190°F. Let it warm up while you prepare your infusion jars.
Step 3: Add to Water Bath
Fill your slow cooker with enough water to cover about halfway up the sides of your mason jars once placed inside. Set the temperature to maintain a steady 180-190°F. Let it warm up while you prepare your infusion jars.
Recipe Ideas and Uses
So, what can you do with your freshly made cannabis coconut oil? In short, a whole lot. Its versatility makes it one of the most useful cannabis infusions you can keep on hand. Whether you're looking to cook, bake, sip, or soothe—this infused oil can do it all.6
- Make edibles: One of the most popular uses for cannabis coconut oil is in homemade edibles. Swap it in place of regular butter or oil in recipes for brownies, cookies, or granola bars. Just remember to label your creations and dose carefully!
- Use as a cooking oil: Cannabis coconut oil works beautifully as a cooking oil—especially for low- to medium-heat applications. Drizzle it over vegetables before roasting them in the oven, mix it into sauces or curries, or use it to sauté greens. Try it in stovetop popcorn for a fun, infused snack.
- Add into beverages and food: You can stir a spoonful of cannabis coconut oil into your morning coffee, tea, smoothie, or even oatmeal. It adds a silky texture and creamy richness. Just be sure the drink isn’t too hot—extreme heat can degrade cannabinoids.
- Apply to skin: Cannabis coconut oil isn't just for eating—it can also be applied directly to the skin. Use it as a soothing topical balm for sore muscles, dry skin, or even swollen areas. While it won’t produce psychoactive effects topically, it may offer localized relief thanks to the anti-inflammatory properties of both cannabis and coconut oil.6


FAQs About Making Cannabis Coconut Oil
Whether you're whipping up your first batch or looking to fine-tune your infusion game, these frequently asked questions will help you get the most out of your cannabis coconut oil.
How long does cannabis coconut oil last?
If kept in an airtight container somewhere cool, dry, and out of direct light, your cannabis coconut oil can stay potent and fresh for up to 2-3 months. If you keep it in the fridge or freezer, it can last up to 3 years.6
Can I use cannabis coconut oil for cooking?
Yes, cannabis coconut oil is the perfect addition to almost any recipe, and a perfect substitute for regular oil if you’re looking to elevate your cooking. Use it in baked goods to add a twist to your favorite treats, or as the base for a stir fry to really shake up dinner.
What temperature is too hot for cannabis coconut oil?
You’ll want to make sure your cannabis coconut oil doesn’t exceed 340°F. Keep your burner somewhat low if you’re making cannabis coconut oil on the stove—the mixture should simmer, but never reach a full rolling boil.9 A crockpot can be really handy here; it helps you maintain a low temperature for a long time.
How do I make my cannabis coconut oil stronger?
Once your cannabis coconut oil is made, it’s hard to make it stronger. One option is to add a tincture of THC distillate to the final product, which can up the potency without affecting flavor. For a stronger infusion from the start, simply increase the amount of cannabis flower you use during the initial cooking process. Just remember: the more you add, the more potent your final product will be, so dose carefully!
How do I fix cannabis coconut oil that's too strong?
Sometimes infused creations turn out a little too potent—don’t worry, it happens to everyone. If your cannabis coconut oil is stronger than you'd like, you can easily tone it down by mixing in some regular, non-infused coconut oil. This will help dilute the potency without affecting the flavor or texture.


Making Canna Coconut Oil
One of the best things about cannabis coconut oil is that a single batch can be used to bake brownies, cook your favorite curry, add to your morning coffee, or craft a soothing topical balm. It’s an easy, customizable way to enjoy the benefits of cannabis however you want. Pick up your favorite strain at your next dispensary visit, and get infusing!
Sources:
1. “How to make cannabis oil,” Weedmaps, August 4, 2022, https://weedmaps.com/learn/products-and-how-to-consume/how-to-make-cannabis-oil
2. “What Is Mise en Place and Why Is It So Important to Chefs?” Auguste Escoffier School of Culinary Arts Blog, October 18, 2024, https://www.escoffier.edu/blog/culinary-arts/what-is-mise-en-place-and-why-is-it-so-important-to-chefs/
3. “Refined Versus Unrefined Coconut Oil: What’s the Difference?” Food Network, July 13, 2022, https://www.foodnetwork.com/how-to/packages/food-network-essentials/refined-vs-unrefined-coconut-oil
4. “7 Science-Based Benefits of MCT Oil,” Healthline, November 27, 2023, https://www.healthline.com/nutrition/mct-oil-benefits
5. “Decarboxylation guide: How to properly decarb weed,” Leafly, March 14, 2025, https://www.leafly.com/learn/consume/edibles/what-is-decarboxylation
6. “Infuse Anything With This Simple Cannabis Coconut Oil Recipe,” Veriheal, November 12, 2024, https://www.veriheal.com/blog/infuse-anything-with-this-simple-cannabis-coconut-oil-recipe/
7. “Easy Cannabis Coconut Oil Recipe,” Emily Kyle Nutrition, December 9, 2024, https://emilykylenutrition.com/cannabis-coconut-oil/
8. “Cannabis and coconut oil: Benefits, uses & how to make it,” Leafly, May 9, 2024, https://www.leafly.com/learn/consume/edibles/coconut-oil-edible
9. “Cooking With Cannabis: 10 Tips to Help Create Delicious Edibles,” Leafwell, October 7, 2024, https://leafwell.com/blog/cooking-with-cannabis


